


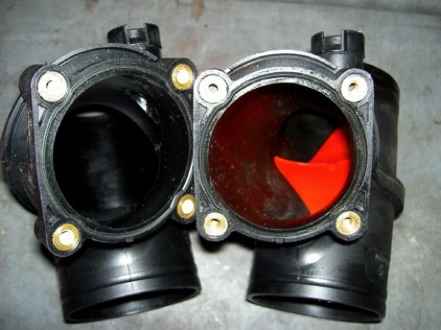
The technoTorque™ system has been manufactured using the OEM “Tee” to which we added our in-house designed and manufactured “technoSplitter™”.
Installation of the technoTorque™ the technoTorque2™ or the technoTorque3™ will not alter the way the engine runs. The Engine Management System in the car quickly senses the more efficient airflow and adjusts the engine’s parameters accordingly. Generally within the first 100 miles after installation you will notice that torque peaks at much lower RPMs and you will gain 2-3 MPG.
Your technoTorque™ System has been manufactured from high-temperature plastic resin which is inert to oil and gasoline. It has been secured to the OEM Tee using high-temperature epoxy and a safety screw.
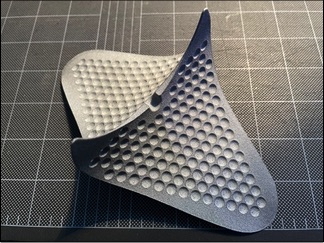
All new versions (2022 and newer) of the technoSplitter™ are 3-D printed using MJF Nylon12, a space age manufacturing technique and material.
We have also incorporated golf ball-type dimples on the surface to allow for an even more efficient air flow.
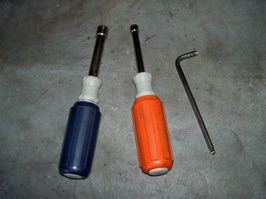
Tools needed for installation:
10 mm socket or driver
7 mm socket or driver
5 mm hex (Allen Wrench)
Allow 45 minutes for installation
Installation Instructions:
We will show the installation of the technoTorque2™ in the following steps, but the installation of the technoTorque™ and the technoTorque3™ is also very similar and can be done following these same instructions.
Detailed instructions to remove the throttle body on ’97-’99 model years can be found under: Throttle Body Cleaning DIY
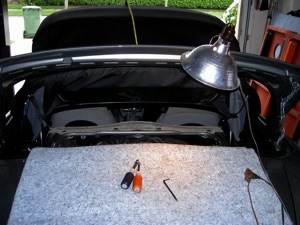
1.- Put your convertible top in the Service Mode
This is with the top open about 18" from the windshield.
It's also a good idea to protect the rear trunk lid with some thick protective material such as a mover's blanket.
I also clip on a drop light to the clamshell for better illumination in the engine bay.
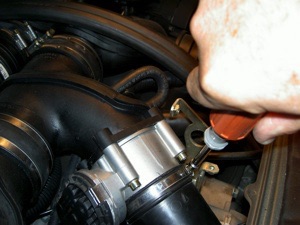
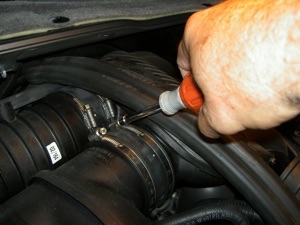
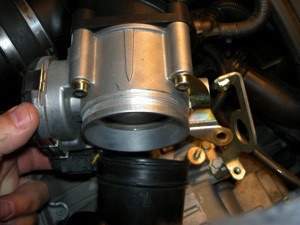
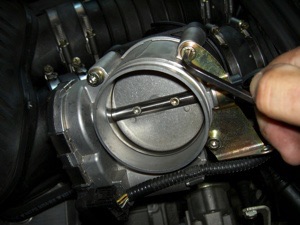
2.- With the 7 mm driver or socket, loosen the clamp securing the air-inlet tube to the throttle body.
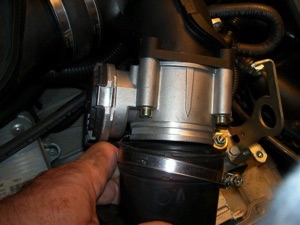
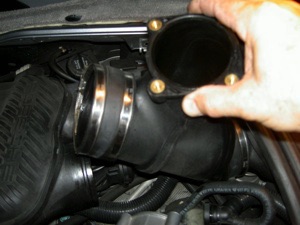
3.- Once the clamp is loose, pull the air inlet tube away from the trottle body.
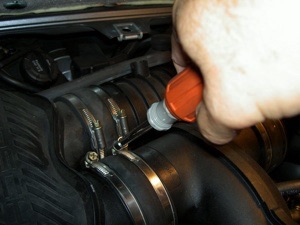
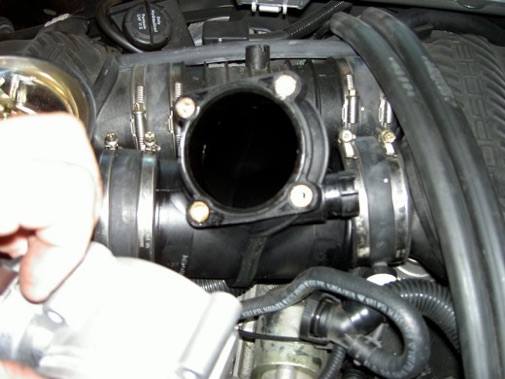
4.- With the same 7 mm driver, loosen the two clamps that hold each one of the two rubber sleeves onto the intake plenums and the tee.
5.- Using the 10 mm driver, loosen and remove the nut holding the throttle body support bracket.
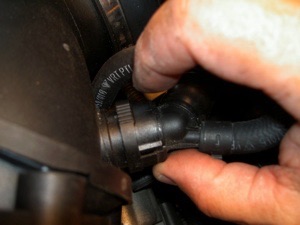
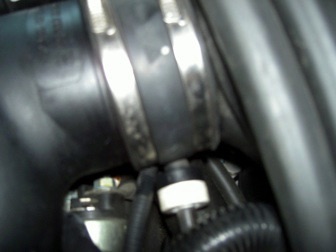
6.- Disconnect the oil vent tube that connects the air/oil separator and the tee by pinching the outer flange on the knurled section and pull back.
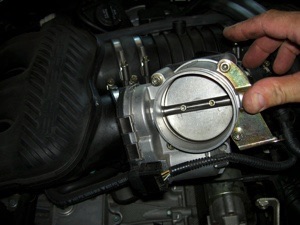
7.- You can now lift the throttle body and tee assembly, rotating it on its rubber sleeves, giving you access to remove the bolts securing the throttle body to the tee. Remove the four bolts with the 5 mm hex.
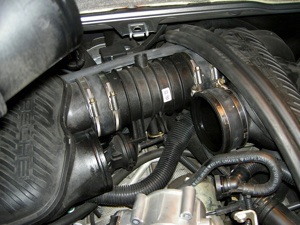
8.- Push both rubber sleeves towards the right side of the car, as far as they will slide.
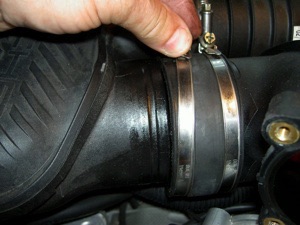
9.- You can now lift the left side of the tee up and out. Note that the left sleeve will come out on to the tee, while the right sleeve remains on the right side plenum.
10.- This is a good time to do some cleaning. Use a rag or paper towels to clean off any oil residue on the rubber sleeves. Slide the rag into each plenum to also remove any oil.

11.- Install the technoTorque2™using the reverse procedure of the removal process. Note the condition and position of the rubber gasket which seals against the throttle body.
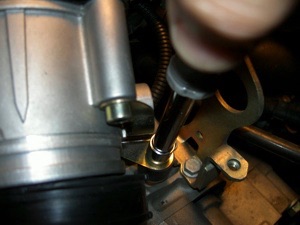
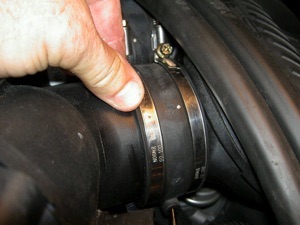
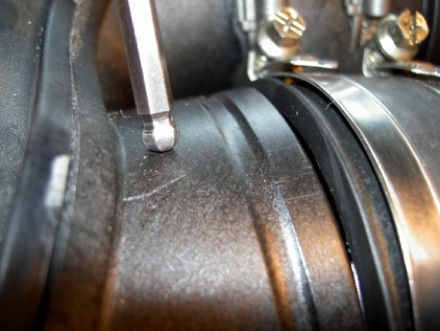
12.- Before tightening the rubber sleeves, note that there are two (2) alignment arrows stamped on the intake plenums. Make sure that the edge of the rubber sleeve is aligned with this arrow (as indicated by the hex wrench below).
Make sure all of the clamps and bolts are tight and that there are no air leaks. Start the cqar and let it idle. Idle should be smooth, exactly as before the installation.
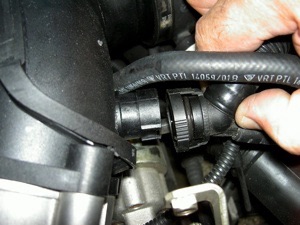
Also, make sure that all the vacuum lines are connected properly. Many people fail to see that there’s a vacuum check valve connected to the right side rubber sleeve which will get disconnected when you remove the right sleeve.
Also, note the orientation of the valve. The black side goes towards the sleeve.
Remember that the Engine Management System will need about 100 miles to re-learn the new air intake parameters before you get the full advantage of extra Torque and better fuel mileage.
Replace the engine cover, carpeting and rear storage compartment.
Go drive!
Happy Boxstering,
Pedro

PERFORMANCE
Install the technoTorque2