


One of the most requested DIY projects is Painting your Brake Calipers.
All of the Poirsche "S" models come with RED painted calipers, those lucky enough to have the PCCB (Porscher Ceramic Compositre Brakes) option have YELLOW calipers, some special edition models came with SILVER calipers, the very special 918 carries ACRID GREEN calipers and the rest are supplied with the standard BLACK calipers.
Caliper color is a form of personalizing your car. You can choose any color you like to contrast or compliment your car's color.
Athough some people have gone to the expoense of having their calipers Powder-Coated, you can get excellent results by doing it yourself.
When painting the caliopers yourself, unless you have an industrial Powder-Coating oven, there are two options: Epoxy-based paints or Engine Enamel (high-temp paint).
I have tested every one of the options and my personal preference is the high-temp Engine Enamel. It is MUCH easier to use than the expoxy-based paints and with a final clear coat will last just as long.
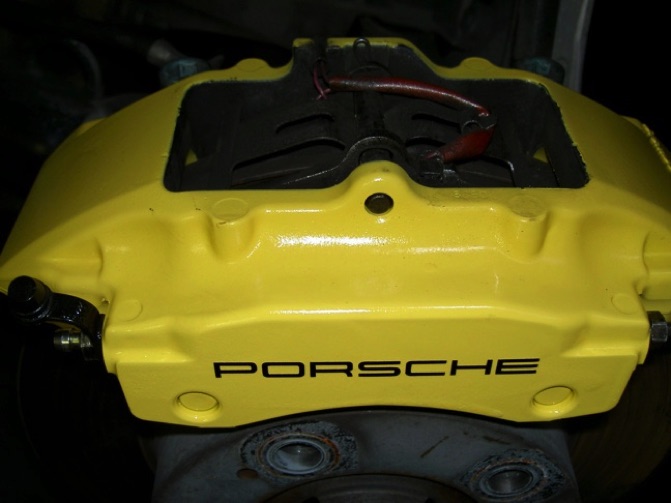
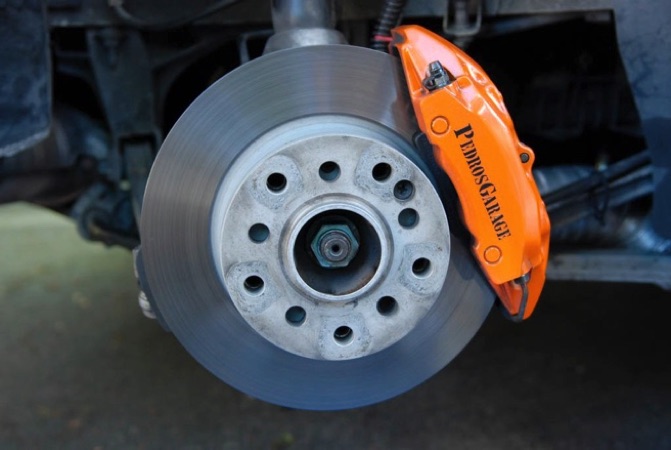
Below you can see my car's rear caliper painted in Chevy Orange Enamel from Duplicolor.
Tools and materials needed:
• Jack and jack stands
• Wheel lug wrench
• Needle-nose pliers
• Ratchet with 10 mm hex
• Flare Nut Wrench (10 & 11 mm)
• Vise grips or clamps
• Scribe tool
• 12" section of clear tubing 1/4" ID
• Masking (painter's) tape
• Brake Cleaner solution
• 2 cans of your choice color Engine Enamel spray paint
• 1 can Hi-Temp Clear Coat
• Vynil adhesive logo (PORSCHE, Brembo, etc.)
• Protective gloves
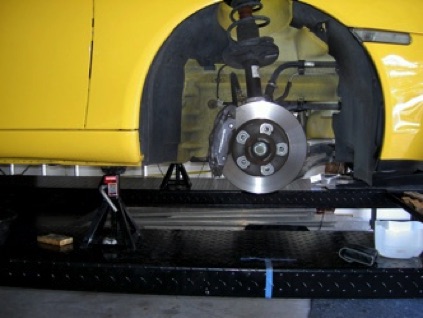
First, start by safely raising your car on 4 sturdy jack stands.
Plan on the car being there for at least a couple of days. Depending on your local climate conditions the drying time between coats will vary, but figure 2 hours between coats.
Remove the four wheels.
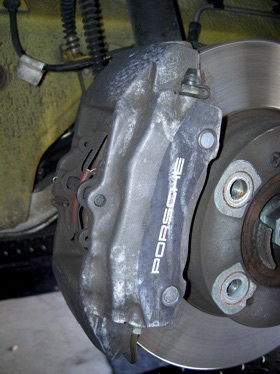
Now you need to remove the calipoers, but first, the brake pads need to be removed.
When working on the front tires, it's easier if you turn the wheel so that the caliper faces you, giving you better and easier access.
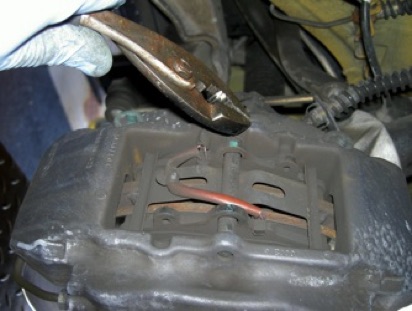
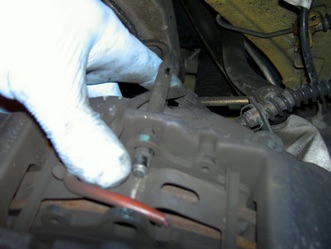
Using a pair of regular or needle nose pliers, pull the safety pin holding the caliper spring pin.
Once the pin is out, depress the caliper spring and push back the pin. You may need to gently tap it back.
With the pin out, remove the spring and pull out the brake pads.
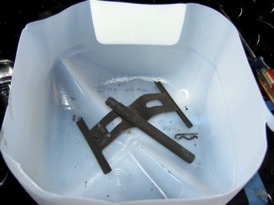
I like to keep a clean plastic parts bin to keep all of the remover parts together.
You can leave the brake sensors connected on the pads, and the pads hanging.
In order to remove the pads you may have to pry back the caliper pistons.
You can use a piece of wood or a screwdriver to push the pads against the caliper and force the pistons to retract, therby loosening the grip on the pads.
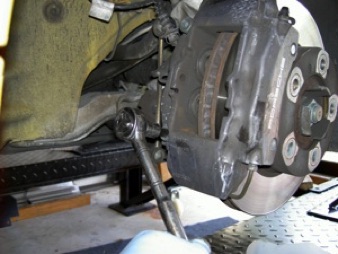
With the pads out, you can now remove the caliper. It is held in place with two 10 mm hex bolts. It's easier if you use a rachet, but if not available, a 10 mm Allen wrench wil work. Leave one of the bolts to loosely hold the caliper in place for the next step.
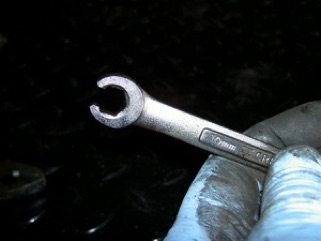
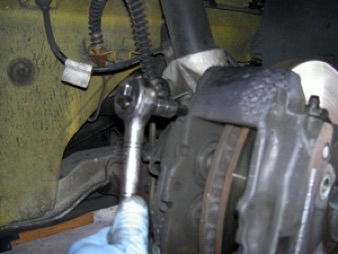
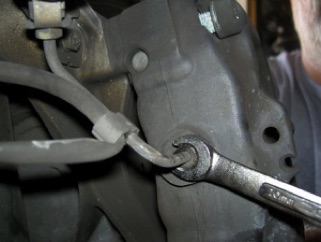
In order not to damage the ends of the brake lines, you need a flare nut wrench like the one shown at right.
You'll need a 10 mm, an 11 mm and in some cases a 12 mm to get the njob done.
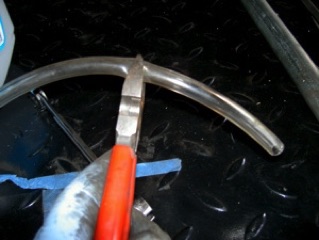
Cut four (4) lengths of clear tubing, each about 5 inches long.
The length is not critical.
Bend one end of the pieces of tubing back over itself and hold in place with vise grips, clamps, rubber bands or similar.
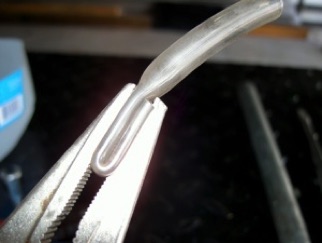
Now remove the flare nut wehich secures the hard brake line to the back of the caliper. Some brake fluid will come out so place a pan underneath to collect and as soon as the brake comes out ...
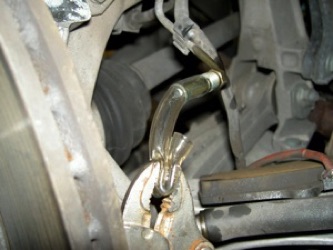
... use the piece of folded-over tubing to plug it. This way you stop the drioping of brake fluid.
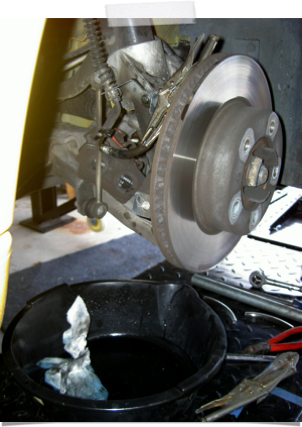
The reason you don't want the brake fluid all over the place is because it can damage paint if left on it for some time.
If you do spill some, wipe off with a paper towel moistened with water.
You can also rinse it off with water.
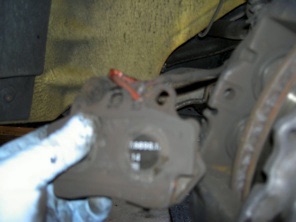
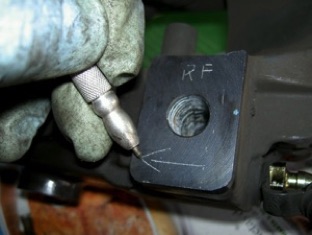
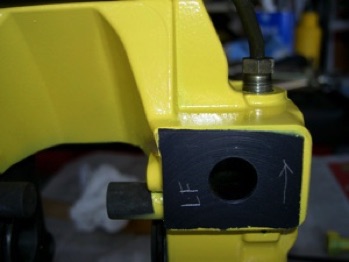
Because the front and rear calipers are different, in order to not confuse them, I like to mark each one with a scribe pen.
This one, for instance, is the Right Front (RF). Since I remove all of the hardware from the caliper, I also mark the side of where the hard line is located (arrow). That's the bottom end.
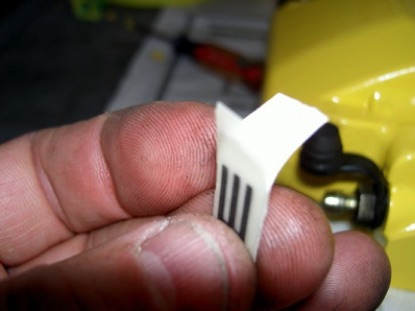
Now remove the bleed nipples and hard line from the caliper.
So that paint or cleaner doesn't get into the inside of the caliper, I plug eachorifice with a plastic wire connector (inserted backwards). Since it's plastic, you can tightly screw them in place and they will seal perfectly.
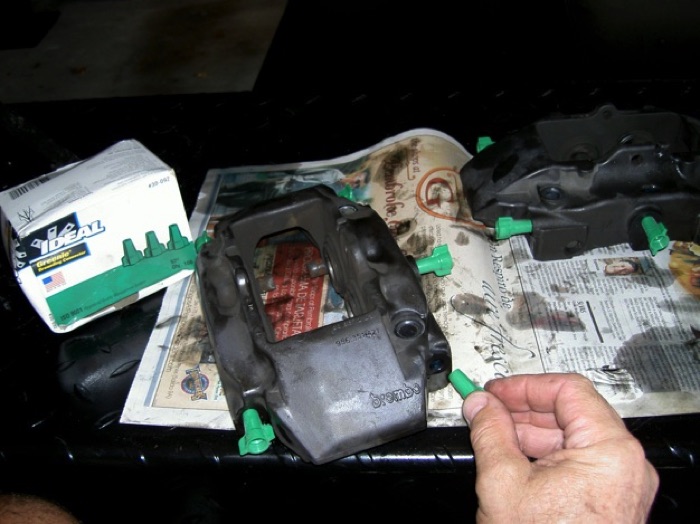
It's easier if you prepare all four calipers at once.
So, go now and repeat the previously described procedure three more times.
After you have all 4 calipers prepped, it's time to clean them.
Use brake cleaning solution or a strong degreaser and a small, soft brush to get all of the brake dust, grime and brake fluid from the surfaceof the calipers. Make sure that no residue remains prior to painting. It is recommended that you use gloves, because it is a messy job and brake cleaner can affect sensitive skin. (Sorry, no pictures).
I also don't like to paint the inner part of the calipers (where the pistons are located) so I mask off the area completely. If you want to paint ther inner part, just mask off the piston dust seals (4 on each caliper -m 2 on each side). I apologize for the lack of photos, but I lost some files. You'll be able to see clearly what I mean in the un-masking photos which follow.
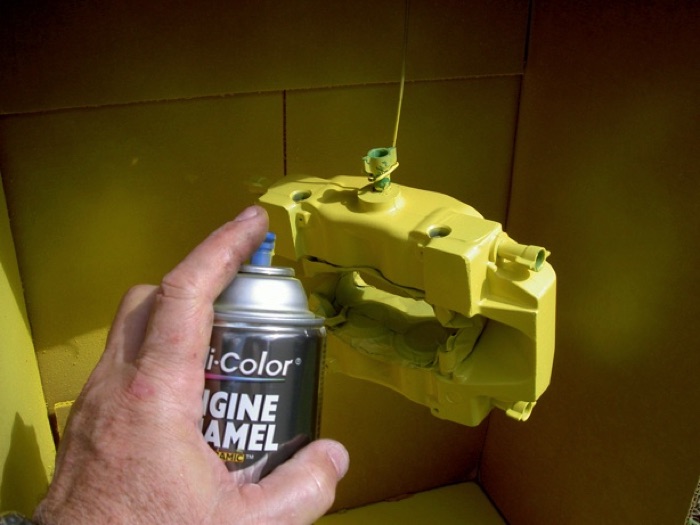
The electrical connector fits so tightly that you can hang the caliper from it whiole painting and drying. Depending on the time you've alloted and the quality of your finished product, wait until the first coat is dry (depending on conditions 2-4 hours) and give it a light wet-sanding, dry and apply a second coat. Repeat as manu times as you wish. I've found that 3-4 coats will give a long lasting professional finish.
Remember that light even coats are better than heavy coats.
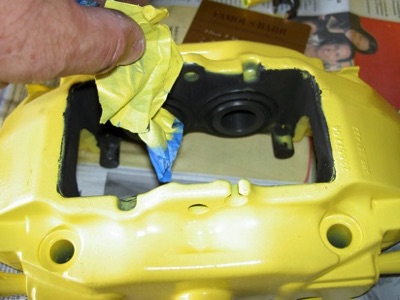
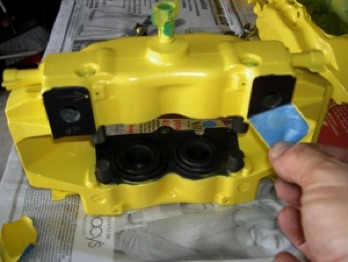
After the final coat of paint has dried, it's time to remove the masking tape from the protected areas.
Now it's time to replace the plumbing hardware on the calipers.
Remove the electrical connectors and replace the bleed nipples and connecting tubes. Make sure that each one goes into the correct location. When the caliper is mounted, the bleed nipples are at the highest part of the caliper, while the connecting line is at the lowest.
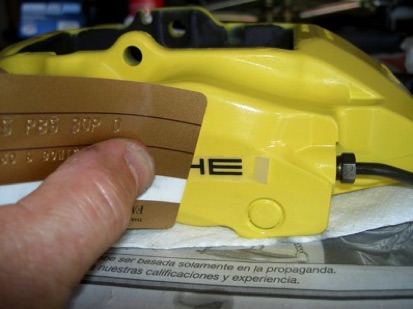
If you want to be able to perfectly center the logo stickers, lightly spray soapy water solution on the caliper's surface.
Peel off the backing material from the sticker and place on the caliper.
Yoiu will be able to slide the sticker to the perfect alignment.
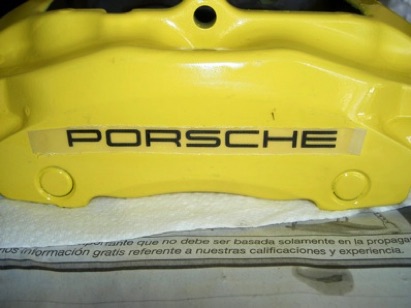
Once it's centered in the desired position, squeegee out any air bubbles and or soapy solution with a credit card or similar.
Give it some time to set and finally peel off the protective top layer.
The calipers are now ready for a coat or two of clear coat.
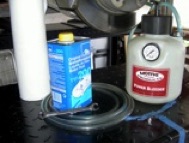
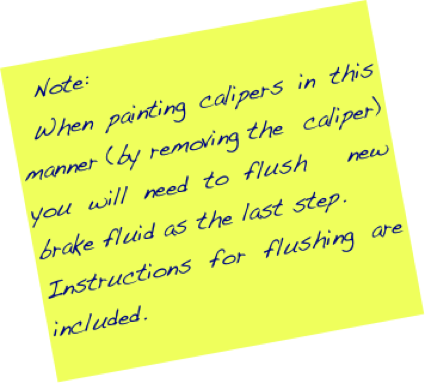
Mount the calipers using the reverse procedure and flush the hydraulic system
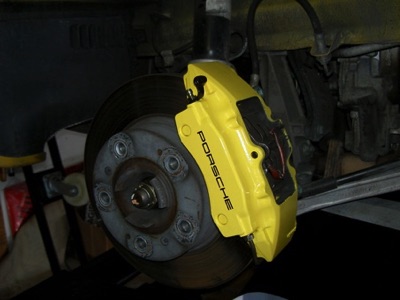
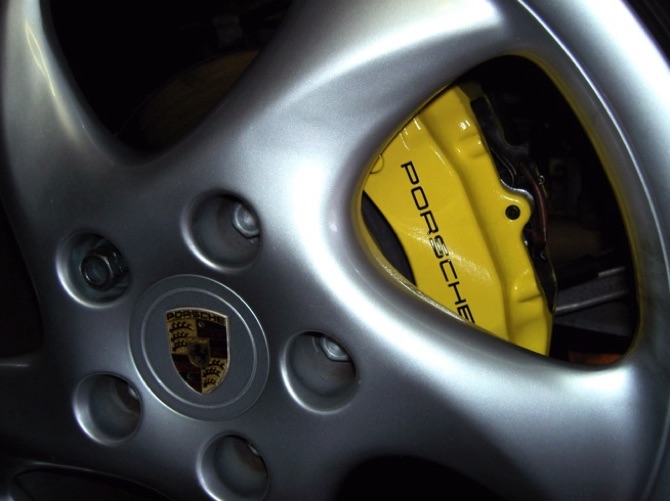
This is how my calipers look now:
Happy Boxstering,

HACKS
Painting the Calipers